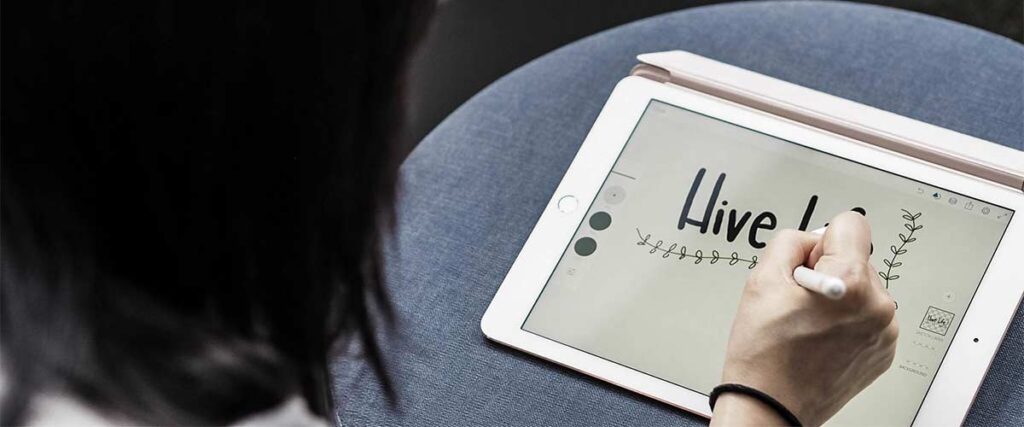
Whether you’ve drawn many things or this is your first digital sketching tool, here are some secret tips and tricks to make the most of your Apple Pencil.
“I’ve always thought it would be really wonderful to have a little box, a sort of slate that you could carry along with you.” Steve Jobs said this back in 1984 and when the iPad first came out, it stood out from its competitors. With a fast processor, sleek design, it worked like a bigger touchscreen phone with more functions on.
Able to connect with the Apple pen and wireless keyboards; the iPad Pro is an alternative option if you are seeking to purchase a tablet. The latest model of the iPad Pro was released a year ago by Apple, with a fast processor and it has one of the brightest and least reflective screens out of all iPad’s so far.
There is a wide variety of drawing apps; one can be spoiled in choosing and picking up an app that fits your needs best. Online tutorials by people like Dawn Nicole, Rad and Happy, Lilhausen are all proven to be very helpful and easy to learn from. When to apply pressure, direction of the strokes and the sizes of the brush are all technicalities that can alter the smallest detail of your preferred result.
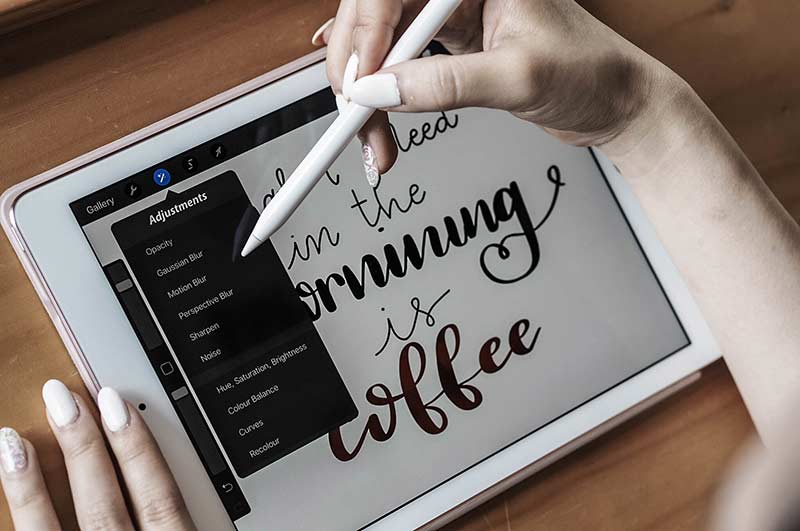
Popular apps being used include Adobe Photoshop Sketch and Procreate. Both with a variety of brushes and adding layers to your sketches, the ability to customise brushes and to create your own brushes. These apps can cost you from a small amount to almost nothing, but the choice is really down to your own preference.
To help you make the most out of your Apple pencil, here are 7 tips to help you to draw on the iPad Pro.
1. Use a Matte or Anti-Glare Screen Protector
Using glossy screen protector on my iPad gets the palm stuck on the screen from time to time, resulting with squiggly lines and or unnecessary dots on my canvas. Matte screen protectors helps your hand glide through the iPad.
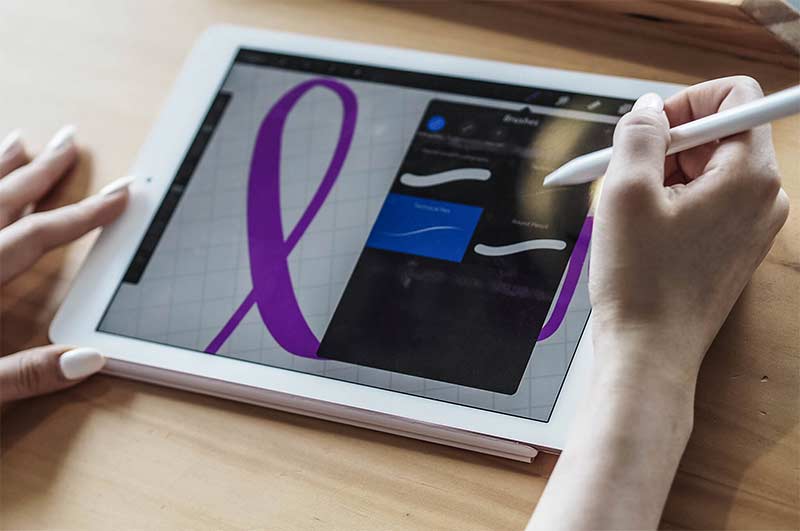
2. Turn Up the Streamline on Procreate When Lettering or Calligraphy
Doing lettering and calligraphy digitally allows you to cheat some parts of the process – you can effortlessly hide those unconfident strokes. If you turn on the streamline of your brush settings, the lines you make will remarkably look smoother.
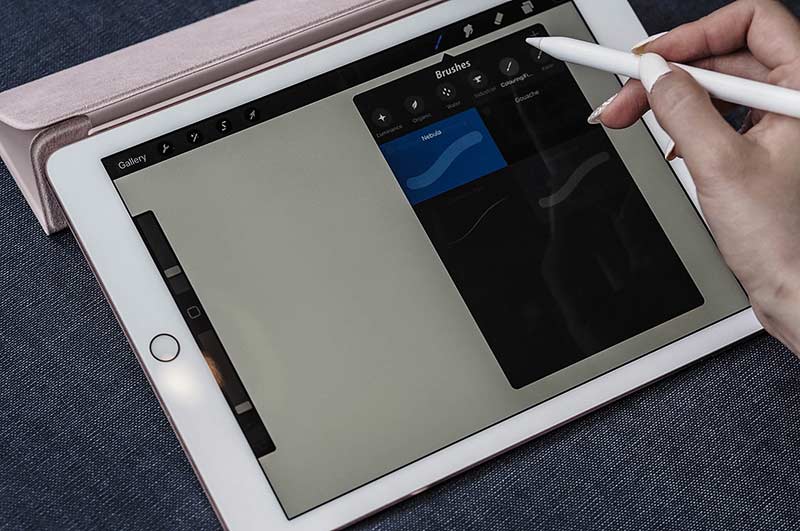
Find Brushes Online or Create Your Own Brush
The exciting thing with doing everything digital is that your possibilities are endless! Testing the waters of calligraphy with an array of brushes and settings is not a problem at all, you can always just download brushes online! Playing with different kind of brushes can add texture to your drawing or lettering. We love Karin’s tutorials from iPad Lettering; from installation guides of different programs to different functionalities of settings. She can teach you everything you need to know about calligraphy here.
Practice with Grids and Lined Templates
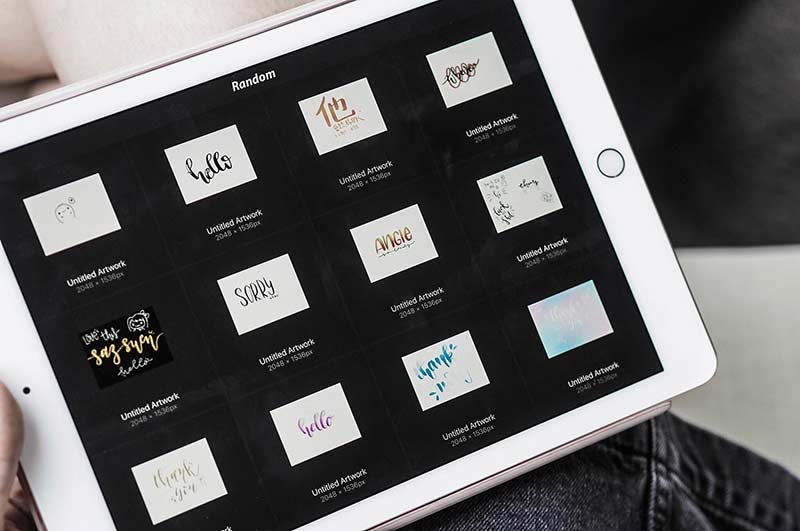
Practice makes perfect – as cliche as that may sound to you, it’s also very true. The more you practice on the sheets the easier it’ll get. Alignment and ratio of the lettering can be a struggle if the proportions are off resulting with the letterings looking weird. Practising on lines and grids will give you a better idea of spacing.
Layer, Layer, Layer
With an iPad, you can make those inevitable mistakes without much frustration. Creating the lettering in steps and layers, can help you effortlessly undo mistakes by deleting some of the layers. But second of all, with layering, you can move your doodles or letters around, this gives you flexibility when you are designing your work, an advantage that calligraphy on paper does not offer.
The Angle of Your Apple Pencil
Not only the pressure you put onto your pencil has an impact on the way it looks, the way you hold your pen also makes. Putting a 45-degree angle on your nib will make your strokes bolder than if you hold it straight.
How to Create a Perfect Straight Line
To create a perfect straight line on Procreate; just roughly draw a line, hold down your Apple Pencil for a few seconds, and it will automatically turn into straight line!
Related Articles